Arttober Finale now in 3D

By John Carter

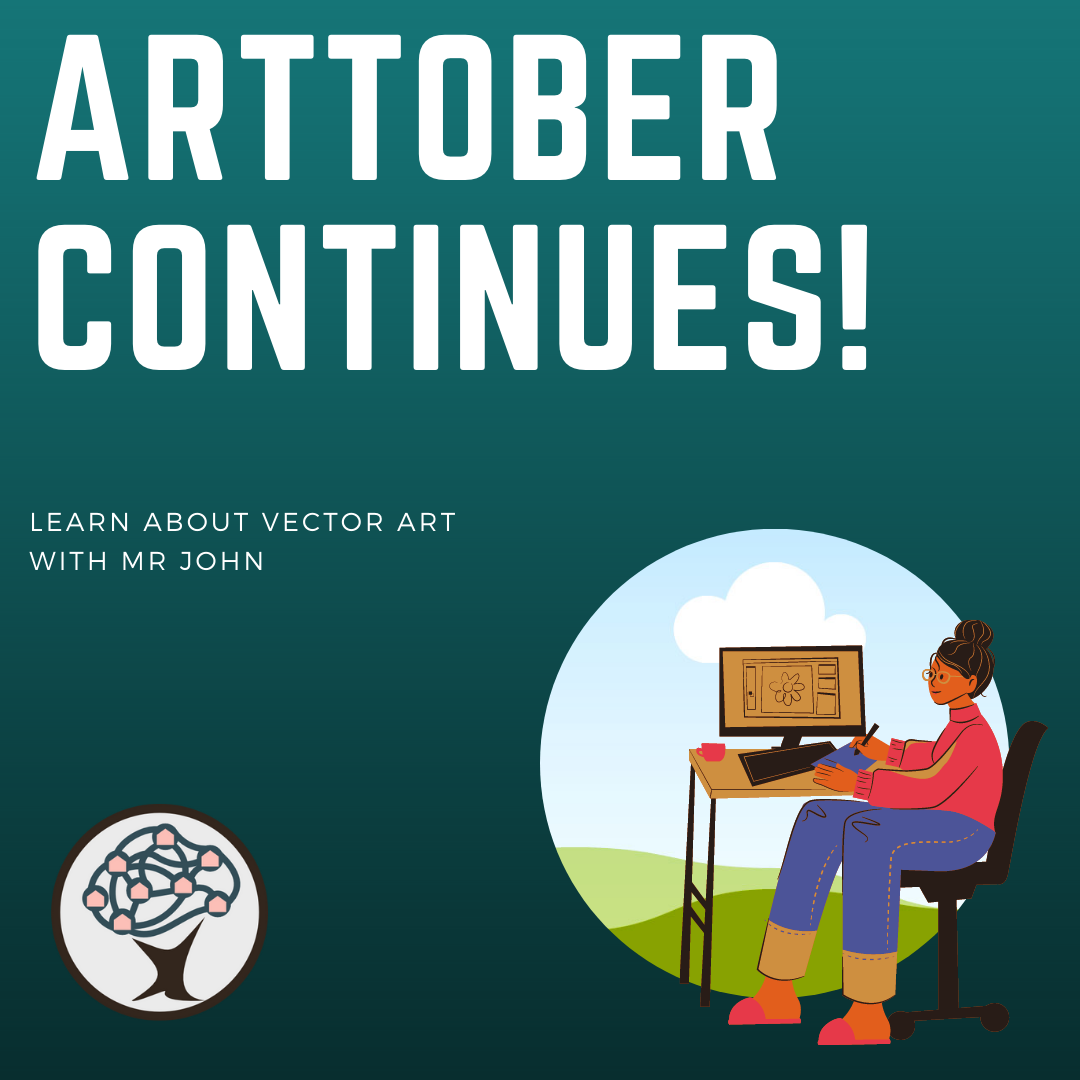
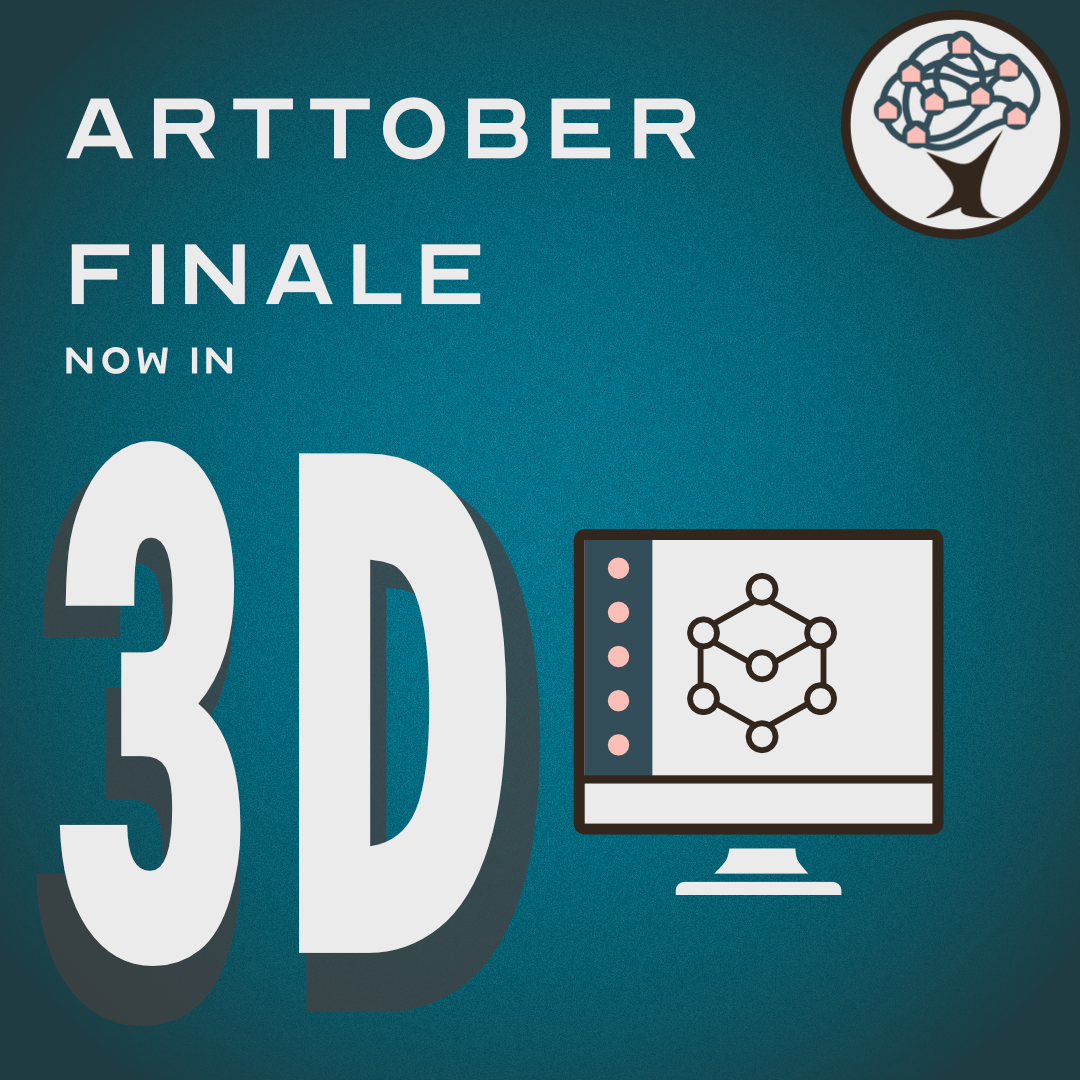
Hi Net Neighbors! Welcome back to Tech Tuesday where we take deep dives into the technology surrounding us. This week we wrap up our Arttober series with the most well known of the Digital Arts; 3D Art. 3D Art has been around for a long time. Much longer than many of you may realize. The Last Starfighter, a movie from 1984 had 27 minutes worth of 3D effects. These days many movies and television programs use 3D Art to supplement, or wholly replace locations. The sort of films which were once completed using super computers are now being made by people in their homes using equipment and programs within reach of most. So let’s take a look at a few options out there.

What is 3D Art?

Although the primary use case for 3D is movies and video games, 3D Art is more than just making Yoda flip across the screen. Many 3D Artists use their media to create works of sculpture or still images of breathtaking complexity. In fact, one of the artists I follow on Youtube, Grant Abbitt, has a contest this month to see who can make the best 3D Halloween scene. Other artists engage in similar competitions. Most of my own work in 3D Art has been more sculptural focused with the end point of them being 3D printing the pieces. That’s right. Just as you can print digital photos and vector logos, you can also print your 3D pieces, if you do it correctly. For today I will not be going in depth into the 3D Art to print pipeline because it is a long one. However, if you are interested in that I would be happy to talk about it in the future.

Okay then, what can I use to do 3D Art?

Depending on the level of complexity to your art, you will need anything from an iPhone to a multi-grand computer.

Wait, what?

Unlike Raster or Vector based art, 3D Art can require a great deal of horsepower to properly handle. Big name studios such as ILM and Pixar need whole rooms of computers running at high speed to make their art. Thankfully you won’t need a super computer for most things. For starters, there are companies now where you can hand them your files and they will do the final render.

Hang on, you mentioned that before. What does Render mean?

Good question. When you watch the newest Pixar film what you are seeing is a final product. If you have the time, I would suggest you pause one of their films and take a good look at it. The water, the way light reflects off surfaces, hair, everything you are seeing requires an insane amount of math to calculate. When an artist is making their movie they are not working with the final, detailed, product. Instead, they are working with much simpler objects. A mass of red curls in the final movie might be represented in on the artist’s side by four or five lines the artist can position.

With their lines in position, the artist can tell the computer to render the scene. As the artist gets up to get their beverage of choice, the computer is working through all the calculations to transform those lines into the hair you gawk at in the theater. There is not enough processing power to actively position all that hair a strand at a time. At least not yet.

Aside from expensive computers, what else might I need?

Well, you don’t need super expensive computers. Like I said, some of this you can do on an iPhone. And there are people who make amazing static pieces on their computer. After all, a static object is not quite as hard to handle as a moving one. Still, many average computers will run the program I am about to talk up and the great thing is it is absolutely free.

Free?

Yes, free. And if you know me then you know that free doesn’t mean bad. Today’s program is called Blender. It is a powerful, amazing piece of work made by scores of people and dedicated to being forever free. From humble origins, Blender has become a major player in the 3D space. In fact, it has been competing with several products in the space whose prices start in the high hundreds and quickly rise from there. Blender has reached such prominence that companies such as Adobe, Apple, Microsoft, Facebook, and more have pledged money to its development.

Why? It’s free. I thought these people wanted to make money.

Because Blender is a one stop shop for all your 3D modeling needs. Many programs require you to move files to other programs once you reach certain stages. With Blender though you can make a movie from start to finish all in one program. The Microsoft’s and Apples of the world want to support a product such as Blender because their customers support it. And, if you have a powerful, free, product at your fingertips you can make your own videos without needing expensive products.

How easy is it to use?

That’s the downside, it isn’t easy. At least not on it’s surface. Because Blender can be used for the entire movie making workflow you can very easily be overwhelmed with all the options thrown at you. Thankfully the Blender team has realized this and in recent updates they have made it easier with tabs at the screen top for its different modes. If you want to sculpt, push the sculpt tab and other user interface elements will go away.

Even with this, there are a lot of buttons so I recommend you watch YouTube tutorials. Grant Abbitt is a great person to look up. CG Boost is also a good source, though I would recommend watching that channel after you have gotten some work under your belt.

The great news is that, because it is free, there is no downside with trying it. And, because you can get older versions of the program on the Blender site, if your machine is a touch older you can still use it to create amazing works.

You mentioned the phone?

Yes, for Apple devices you there are several apps, Nomad Sculpt and Forger are two, which you can use on your phone or tablet. They cost a few dollars but since they are optimized for the phone they don’t require all the same processing power. Mind you, these are just sculpting apps. You can’t make a movie in them. But you could create a model in them, export to Blender, and make something even better.

Is that everything?

Not in the absolute slightest. We haven’t even reached 1 percent. But for now it’s enough. Next week I will be taking off in preparation for November and National Novel Writing Month. Come November 2nd though, expect to start learning about Ebooks, what they are and how to write them.

Until then, have fun, find adventure, and stay safe!


A woman at a computer with the words Arttober Continues! in the background

By John Carter

Hi Net Neighbors! Welcome to another Arttober Edition of Tech Tuesday, where we cover all the questions you have about Tech and the Digital World. This week we are continuing our Arttober work, moving away from Raster Art, which is moving pixels, and towards Vector Art. Now on the surface Vector Art can seem similar, if not identical to Raster Art. It is when we scratch the surface where we see differences crop up. Before we go into those differences though, let me give you an example of a vector object you may have seen. Do you have a favorite sports team? Regardless of where that logo is printed or displayed, somewhere it is stored as a vector object.

So what are Vector Objects?

As we covered before, a Raster Object is comprised of pixels. Pixels are limited by the sizing their parent image was created in. That is why you can only stretch a photo you’ve taken by so much before you start seeing the ‘smooth’ lines become jagged. In this way Raster Objects are true to life. Smooth objects are only smooth from our perspective. If you zoom in on a sheet of glass, you can start to see tiny grooves and roughness.

On the opposite side of the digital divide are Vector Objects. Whereas the parts of a Raster Object are collections of pixels, a Vector Object is a mathematically derived shape. Now I know many of you probably took a massive breath at the word math, but don’t worry you don’t have to know a single bit of math to work with Vectors. All the math takes place behind the scenes. You deal with Vector Objects all the time. Ever write an email, text, or document? If you have, all those letters on the screen are Vectors. Think about it for a moment. When you change the size of a letter from ten to twenty does the letter get jagged? No. They are smooth no matter the size. Because they are Vectors. If you deal with shapes in Google Docs or Microsoft Word, those are Vectors too.

Why do I want Vectors Objects though?

Are you making a logo? Do you want to be able to change the colors of an element with just a click? Or do you just want to do some art? All of these are possible when dealing with Vector Objects. Although you may not need them, logos are a perfect use case for these sorts of elements. With a logo you are generating an image that must look good on business cards, cups, hats, billboards, and airplanes. To achieve this with a Raster would require a file of positively huge proportions with regards to pixels. Meanwhile a Vector with a size of 1 inch by 1 inch, can be set to whatever size you want, and it will always look crisp and clean.

Sounds amazing! How can I get started?

As with Raster Art, there are many options available. So many, in fact, that were I to list them all I would be here for hours, and you would be very bored. Therefore, we are going to take a similar path to our prior lesson and focus on a handful of options and let you go from there. Along those lines, we are going to look at one paid, Affinity Design, and one free option, Inkscape. I have personally used both and find them excellent resources.

Affinity Design

If you are joining us from last week, you are sure to recognize the name Affinity. I wrote at length about Affinity Photo. Well Affinity Designer, also from Serif, is that company’s answer to Adobe’s Illustrator. Adobe is a massive competitor in the space and most people are playing catch up. This is especially true for Designer where there are several features that are just not there. However, these are not game breaking features. I would, instead, mark them as quality-of-life items. You can certainly get by without them and a great many people do, especially when you consider how Affinity is a one-time cost while Adobe is a subscription.

Designer has robust tools for handling a great many vector objects, the limits of which are dictated by the capabilities of your computer. You can take simple shapes such as squares, circles, and triangles and use them as building blocks for more complex objects. By arranging a circle next to a square, you can use the former as a cutting tool to take a semi-circular chunk out of the latter.

Within, though not limited to, Design, is a Pen Tool which allows you to create your own custom shapes and paths. Paths can be simple lines, but they can also be used as the basis for a Vector Brush. Vector Brushes allow you to create textured effects across the path’s length. So what started as a simple line can become a series of spots on the side of a jaguar.

Now where Designer really rises above the pack in its ability to use Raster brushes in Vector objects. With this, artists can create complex Vector images and then shade within each shape with the subtle granularity one may find in a traditional painting. A good place for something like this is in children’s books where I have seen it used to great effect.

Cost

Everything I have said about the cost of Affinity Photo is true in Design. Designer is paid product with a desktop cost of fifty dollars and an iOS version costing twenty-two dollars. For that cost though, you will have access to Designer through the entire 1.0 development cycle. Meaning that so long as the number is 1.something you will get those updates for free. You will also have access to your old versions of the product, so if an update to Designer does not work on your computer you can still use an older edition.

Ease of use

If you are familiar with using shapes in Microsoft Office or other Desktop Publishing Products then you will have a leg up here in Affinity Designer. There are plenty of tutorials online for you to access, though not as many as Adobe Illustrator. The good news there is that since many of the tools are the same you can use guides from one to play in the other.

Now in the Affinity Photo section from last week I said I wished I had interacted with the iPad version first. This week, I am going against that point. With Designer I find the ability to use a mouse far more useful than a pen input. Now if I was going to utilize the Raster Brushes as I mentioned earlier, I would certainly prefer a pen. Either way, Designer is a powerful tool regardless of the path you take.

Alternatives

As I have mentioned a few times, there are a few alternatives out there with the biggest being Adobe Illustrator. But since the cost of entry is so high, and your computer may not run it depending on the age of your machine, I recommend some alternatives. One is a possibility you may not have thought of before, Microsoft PowerPoint. Yes, you heard me, PowerPoint. With recent updates they have included many of the same tools with regards to editing and combining shapes as you may expect to find in other, higher-profile, programs. To get the most you are going to want to have Microsoft PowerPoint 2016 or later. You may already have that through your college, school, or other means but if you don’t there are still powerful alternatives for you.

My go-to one-hundred percent free alternative to Affinity Designer is a program called Inkscape. After playing with PowerPoint for a bit, Inkscape is where I went next. It is an amazing tool with pro-style features joined to a price point which is available to all. With recent updates Inkscape has become even better, giving the program a graphic overhaul to bring it more in line with what designers expect from a Vector Program. The only real downside is that there is no mobile version, making this a strictly desktop toy. Still, it is a great program, and I cannot heap enough praise on it.

Anything else?

As with anything art related, the amount of words one could expend on this topic is nearly infinite. Like last week, my intention was not to be wholly comprehensive but to instead expand your knowledge and point you in new directions. Vector Art can be a very rewarding endeavor and if that sounds like something you may be interested in then I suggest you take a look. Stay tuned for next week when we will be looking at the third part of our Arttober Series, 3D Art.

Until then, have fun, find adventure, and stay safe!

By John Carter

Hi Net Neighbors! Welcome to Tech Tuesday, where we talk about the tech issues and ideas affecting you. This week we are starting off a new series for something I am calling Arttober. In the vein of Inktober, which if you have not heard of it is a ‘challenge’ where people draw images with ink each day of October, Arttober is our opportunity to discuss some options for art in the digital sphere. Now you may be thinking that you can’t create art in a computer and if you are I would like to direct you to nearly every movie made in the last twenty years. More and more, studios are shying away from filming at scenic vistas and are moving to building those locales in the computer.  Given this, let’s take a look at digital art, specifically Raster Art.

Wait a second. If a place really exists, why not film there?

Good question. Let’s think about it for a second. A film shoot doesn’t just require a director, camera person, and the three actors in a scene. There are costumers, make-up people, set designers, prop people, runners, and so, so many more just to handle a single scene. Now imagine moving all those people half-way across the planet to film what will be a thirty-second shot in the final film. Now imagine doing it in an era where four weeks are eaten up via quarantine. That thirty-second shot has suddenly become very expensive and very time consuming.

But let’s say that you build your location in a computer though. You can do your filming, potentially, in your garage in front of a green screen. Then, with some digital work the green can be removed, and your actors are suddenly in a German castle, or the Australian Outback, or even at the top of Olympus Mons on Mars.

Okay, okay, I’m sold. So, what is Raster Art?

A Raster image is any image comprised of Pixels. Every photo you take with your phone is a Raster image and editing those images, even if you are just correcting some color in your camera app, makes you a Raster Artist. Yet, when we talk about Raster Artists what we are usually referring to are what you may call Digital Painters. Using one, or many, different programs and apps, Digital Painters can create images as vibrant and lifelike as any ‘Traditional’ Artist.

Now, before you go diving headlong into the Digital Painting space, it is good to know what your options are. So let’s take a look. Today we are going to look at two programs, Affinity Photo and Procreate.

Affinity Photo

Created by a British company called Serif, Affinity Photo is their version of Photoshop. As such it is feature rich with all the tools you could need to create awesome works of digital art. Photo editing is available, giving you the ability to balance lighting, alter colors, remove blemishes and more. Brushes, a concept common to all Raster programs, can be imported from Photoshop and other programs. So if you have Photoshop at work but don’t want to pay Photoshop prices at home, this is a viable option.

Cost

I am not going to lie to you, Affinity does cost money. If you want the full desktop experience then you are going to shell out northwards of fifty dollars. That being said, compared with Photoshop, which is twenty a month for as long as you want to use it, that price is nothing. The price is a one-time deal, giving you access to the product for life within that major release. For clarification, right now the product has recently released version 1.10. Any version within the 1.0 version cycle will be available to you with that one-time purchase. If, in a year, they release a version 2.0 then you would need to pay for that but you would still have free, unlimited access to the full breadth of 1.0.

You may have noticed that I have listed multiple versions of Affinity Photo. If you, for whatever reason, wanted it on a Windows computer and a MacBook then you would need to pay for a license for both. Thankfully Serif has sales throughout the year when you can snag it for ten to twenty dollars less.

Now, unlike many of the options we listed above, Affinity Photo is available for your iPad as well. The interface is different on the iPad but so is the price. Twenty-two dollars is much better than fifty-plus, and you get updates for free.

Ease of Use

Affinity Photo is not the sort of program you can just pick up and use with ease. There are tons of buttons everywhere and there are loads of functionality. My advice is to head to YouTube and do some searches. At the end of this document I will include some links to YouTube Channels I like and have used. Additionally, if you are just getting started with Affinity Photo, my next piece of advice is to choose a version, Desktop or Mobile. The interfaces are different and trying to learn both at once is only going to lead to more headaches.

I will say this, knowing what I know now, if you have an iPad and a desktop and are on the fence, I would say you probably want to learn the iPad version. Not because it is easier, or harder, because it isn’t. No, the iPad allows you to use a stylus on the screen meaning you can paint the same way you would draw in the ‘real’ world. To achieve this same effect in a desktop environment you would need to purchase a separate accessory which could cost between thirty and three-thousand dollars depending on a host of factors we will not get into. Now if you have a MacBook and an iPad you can use the Sidecar function to achieve the same. We won’t go further into that though.

Alternatives

While there are many alternatives on the market, the two you will most commonly find are Photoshop and GIMP. Photoshop, well there isn’t much to say there. It is THE name in the photo editing space. So ubiquitous is it that the noun has also become a verb. Any image that has been altered is said to have been photoshopped, regardless of the program in which the editing occurred. As I said earlier, Photoshop costs twenty dollars a month, though for that you gain access to both the desktop and iPad versions.

GIMP, short for GNU Image Manipulation Program, is a 100% free alternative to Photoshop and Affinity Photo. In terms of average use, they are about par, though the costlier ones of course have more bells and whistles. There is no tablet version of GIMP, meaning you are stuck with a desktop experience. That being said, it is a good product and I have used it to touch up family photos and do some digital painting of my own. Because both Photoshop and GIMP have been around for ages there are tons of tutorials on both.

Procreate

Sigh, another poorly named product. But once you set aside the name, Procreate is an amazing product. Coming in versions for both the iPhone and iPad, this is pretty much the go-to product in the mobile digital painting space. It can import brushes from Photoshop and Affinity Photo, allowing you to make great use of those assets. But do not mistake Procreate for just another photo editor. It is wholly an art program. I have done quite a few pieces in it, mimicking a painterly style and a more ink/marker approach. With the use of layers, masking, and brushes there is no end to what you can do. I have included a link at the bottom where you can go and see some art made in this amazing product.

Although I do not use it, one feature I find particularly amazing is the record feature. By default, the app is recording all the work you do as a video so you can go back and observe your process in high speed or share it as a YouTube video of your own.

What I do like is that there are options for my iPhone and iPad. In case you are wondering, yes you can do amazing pieces with only your finger on the iPhone. I wouldn’t call my own works amazing by any stretch of the imagination but the tool kit at your literal fingertips cannot be denied. Meanwhile on the iPad you can make use of the Apple pencil to great effect.

Cost

Depending on whether you want the iPad or iPhone version, Procreate is going to set you back ten or five dollars respectively. For such a powerful product that isn’t a bad price and I have both.

Alternatives

For a more universal option, there is Sketchbook from Autodesk. It works on both iOS and Android and I recommend it so highly that it was the app I downloaded to my child’s Android tablet. There are tons of brush settings and a robust color library. Layers, masking, and other features are also available.

On the desktop in the painting space there is Krita. Krita is absolutely free, though donations are a possibility. It has an amazing brush engine allowing for oil, watercolor, and pastel effects. And just like in Procreate, you can animate in Krita. On this point in particular Krita is the clear winner, since you can do movie-level animation with it rather than the shorter videos in Procreate.

Wow, that was a lot of information. Anything else?

On Raster Art alone I could write books. I haven’t even scratched the surface with this article. That’s okay though. Sometimes a topic will be too big, even for us. But what I am really hoping from this series is that you gain some inspiration to branch out and try these options on your own. I personally find Digital Art very freeing for the very fact that any error on the canvas can be fixed with a simple undo. Plus, given that the only expense is a few dollars for an app versus all the money you could spend on paint, ink, or whatever other media you want, even if you were to throw in an iPad it wouldn’t be as much.

Before you jump that deep though, I encourage you to try the free options.

Next time we are going to discuss Art’s more mathematical side with Vector Art.

Until then, have fun, find adventure, and stay safe.

Links

Logos By Nick – https://www.youtube.com/c/LogosByNick great source for GIMP tutorials

Design Made Simple – https://www.youtube.com/channel/UC9OV3PevmfZt1k1jQDzWm0A

Make it Mobile – https://www.youtube.com/channel/UCe7cPBY4S6XMQZQsf2eC_5w

Procreate Folio – https://folio.procreate.art/showcase – no tutorials but examples of what you can accomplish. Truly inspiring.

Art with Flow – https://www.youtube.com/c/ArtwithFlo/videos – great source for Procreate Tutorials